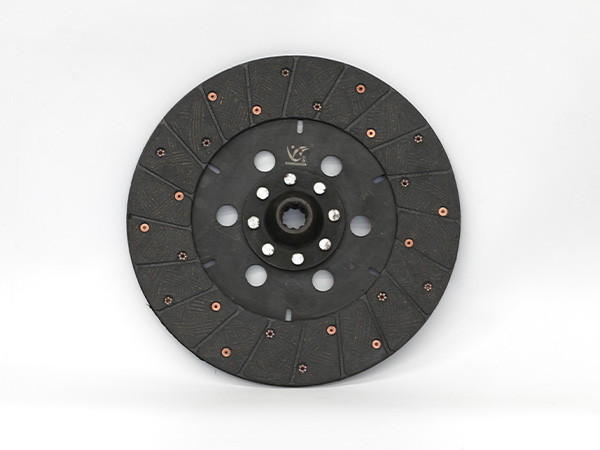
How to adjust the tractor clutch
Adjusting the clutch on a tractor is an essential maintenance task to ensure proper engagement and disengagement of the clutch mechanism. A well-adjusted clutch can improve the overall performance and longevity of the tractor. Here are the general steps to adjust a tractor clutch:
Safety Precautions:
Before adjusting the clutch on a tractor, ensure the tractor is safely parked, the engine is off, and the ignition key is removed. Follow all safety guidelines and use appropriate personal protective equipment.
Tools and Materials:
You may need the following tools and materials:
- Wrenches (usually open-end or socket wrenches)
- Screwdrivers
- Clutch adjustment manual (specific to your tractor model)
- Jack and jack stands (if necessary)
Procedure:

1. Consult the Manual: Always refer to the tractor’s user manual or service manual for specific instructions on adjusting the clutch. Different tractor models may have unique procedures and requirements.
2. Locate the Clutch: Find the clutch adjustment mechanism on your tractor. It is typically located in the area where the clutch pedal connects to the clutch linkage or clutch housing.
3. Adjust the Clutch Pedal Free Play:
- Measure the clutch pedal free play. This is the distance the pedal moves before resistance is felt.
- If there is too much free play, you will need to reduce it. If there is too little, you will need to increase it.
- Loosen the locknut on the clutch pedal linkage.
- Adjust the linkage to achieve the desired free play, as specified in the manual.
- Tighten the locknut to secure the adjustment.
4. Check the Clutch Release Mechanism:
- Inspect the clutch release mechanism for any signs of wear, damage, or misalignment. This may include the clutch release bearing and the fork.
- Replace any worn or damaged parts as necessary.
…
For more detailed information about the tractor clutch adjustment method, please click here: https://www.syclutch.com/news/tractor-clutch-adjustment-method.html


