How to use the double-shaft mixer correctly ?

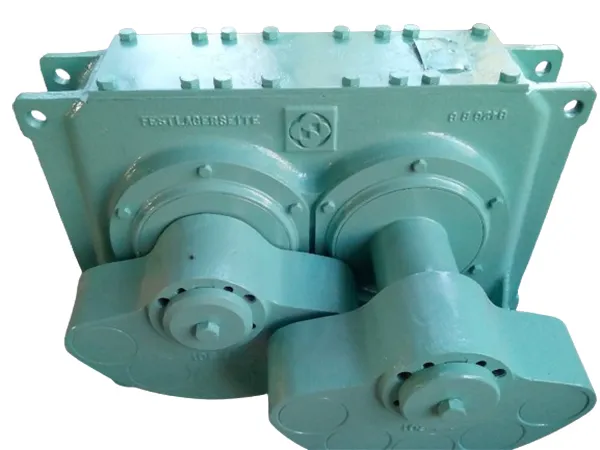
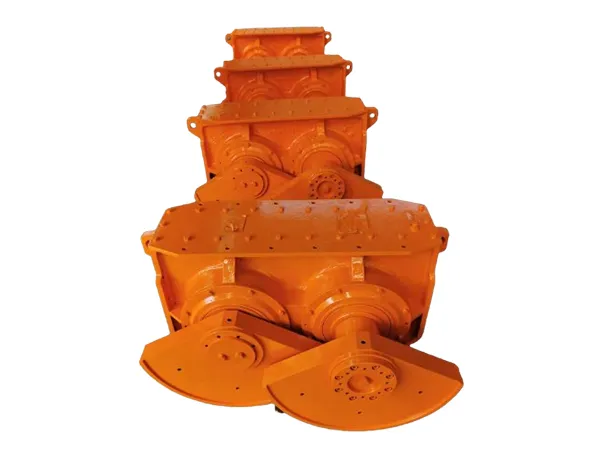
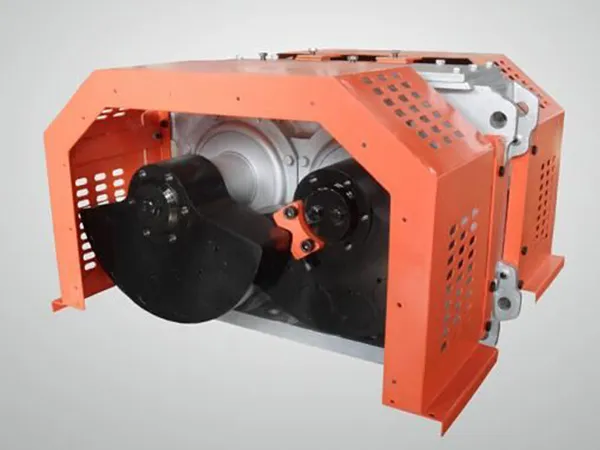
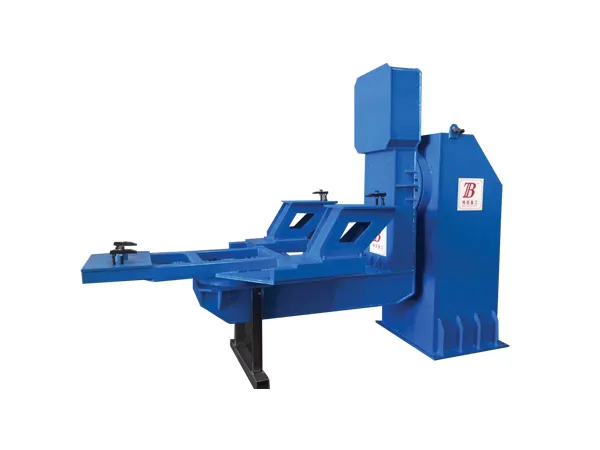
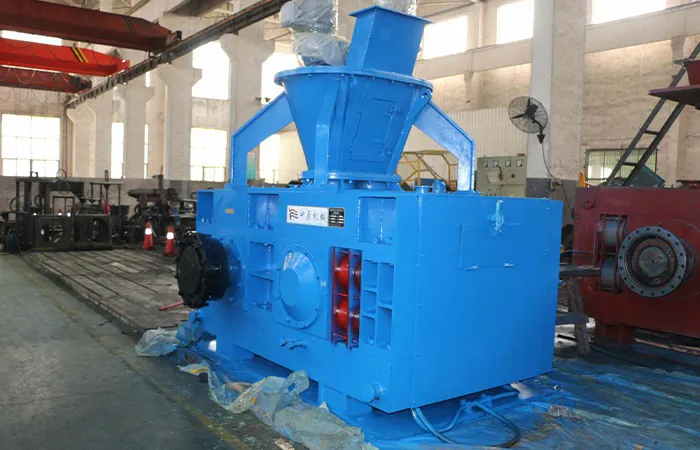
double-shaft mixer, also known as a dual-shaft or twin-shaft mixer, is a type of industrial mixer used for mixing and homogenizing various materials. It is commonly used in industries such as construction, agriculture, food processing, and chemical manufacturing.Using a Double-Shaft Mixer correctly involves understanding its operation, maintaining it properly, and following safety protocols.

Double shaft mixer use

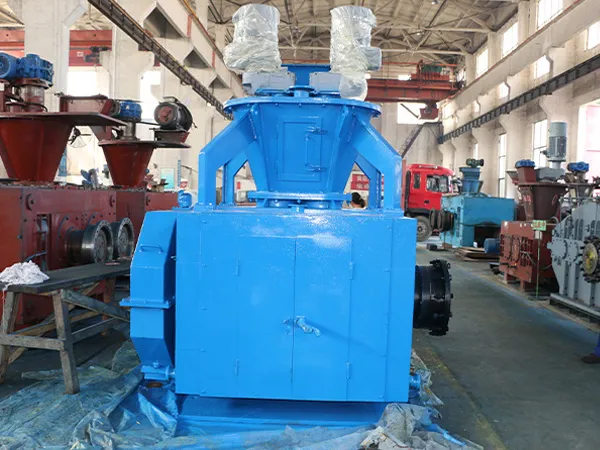
double-shaft mixer

1. Preparation

Read the Manual: Start by thoroughly reading the manufacturer’s manual. Understand the specific features and requirements of your mixer.

Check Connections: Ensure that the mixer is properly connected to a power source and all cables and hoses are secure.

Inspect the Mixer: Conduct a visual inspection of the mixer for any signs of damage or wear. Check the mixing blades, shafts, and interior for cleanliness and proper alignment.

2. Loading the Mixer

Batch Size: Do not exceed the recommended batch size as specified by the manufacturer. Overloading can cause inefficiency and damage the mixer.

Material Properties: Ensure that the materials to be mixed are compatible with the mixer’s capabilities. The materials should be free from large, unbreakable contaminants that could damage the blades.

3. Operation

Starting the Mixer:

Turn on the main power switch.

Set the desired mixing parameters (speed, time, etc.) according to the material requirements.

Start the mixer using the control panel.

Mixing Process:

Allow the mixer to run for the designated time.

Monitor the mixing process to ensure even distribution of materials. Adjust the settings if necessary.

Ensure that the shafts and blades are rotating smoothly without unusual noises or vibrations.

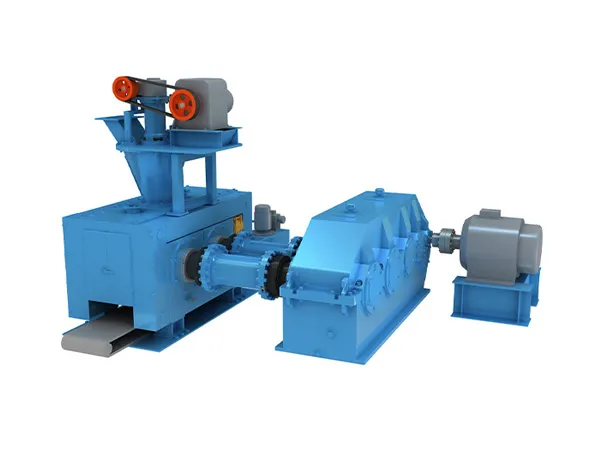
double-shaft mixer

4. Safety Measures

Protective Gear: Wear appropriate personal protective equipment (PPE), such as gloves, goggles, and ear protection.

Emergency Stop: Familiarize yourself with the location and operation of the emergency stop button.

For more detailed information on how to use the double-shaft mixer correctly, please click here: https://www.zymining.com/en/a/news/double-shaft-mixer-use.html

What is the wind tower welding process?

The welding process for wind tower construction is critical for ensuring the structural integrity and longevity of the towers. Here is an overview of the main steps involved in the wind tower welding process.

Wind tower welding process

Wind Tower Welding Production Line

Material Preparation

Cutting: The steel plates used for wind towers are cut to size using methods like plasma cutting, laser cutting, or oxy-fuel cutting.

Edge Preparation: The edges of the steel plates are beveled to prepare them for welding. This helps ensure strong and consistent welds.

Plate Rolling

Rolling: The cut and prepared steel plates are rolled into cylindrical or conical sections. Rolling is done using plate rolling machines to achieve the desired curvature and diameter.

Tack Welding

Alignment: The rolled plates are aligned and held in place using fixtures.

Tack Welding: Small welds are made at intervals to hold the sections together temporarily before the final welding. Tack welds ensure that the plates remain properly aligned.

Root Pass Welding

Root Pass: The first pass, or root pass, is performed to join the plates from the inside. This pass is crucial as it forms the foundation of the weld. It is usually done using a welding process like Gas Tungsten Arc Welding (GTAW) or Shielded Metal Arc Welding (SMAW).

Wind Tower Welding Production Line

Fill and Cap Pass Welding

Filling: Subsequent passes are made to fill the groove created by the beveled edges. Multiple passes are required to fill the joint completely.

Capping: The final pass, known as the cap pass, is done to create a smooth and even surface on the weld. This pass also enhances the weld’s appearance and ensures it meets quality standards.

For more detailed information about wind tower welding process, please click here: https://www.bota-weld.com/en/a/news/wind-tower-welding-process.html

What is the price of vibrating feeder and what factors affect the price?

vibrating feeder is an equipment designed to feed material consistently and uniformly to a process or machine. It uses vibration to move material along a trough or chute to the desired location. Vibrating feeders are widely used in various industries due to their efficiency and reliability.

The price of vibrating feeders can vary widely based on factors such as size, capabilities, complexity, and specific industry requirements. Here’s a general overview of the price ranges.

Vibrating feeders price

vibrating feeder

Electromagnetic Vibrating Feeders

Small and medium-sized units typically range from $100 to $500 per piece. Larger units can range from $2,400 to $6,500 per piece depending on capacity and additional features.

Large Vibrating Feeders

For heavy-duty applications, such as those used in mining or large-scale industrial processes, prices can range from $8,000 to $56,000 per piece. These prices depend on the specific model, maximum feeding capacity, and additional features .

Specialized Vibrating Feeders

Some feeders designed for very specific purposes, like certain types of mining or material handling, can range from $25,000 to $85,000 per piece .

Factors affecting the price of vibrating feeder

vibrating feeder

Design and Specifications

Capacity: Feeders designed for higher capacity will generally cost more.

Dimensions: Larger feeders require more materials and construction effort.

Design Complexity: Custom designs or feeders with advanced features (e.g., variable speed control, multiple feeding points) can increase costs.

Materials and Construction

Material Quality: The type and grade of materials used (e.g., stainless steel, carbon steel) impact the price.

Durability: Feeders designed for abrasive or corrosive environments may require specialized coatings or materials, increasing the cost.

Type of Vibrating Mechanism

Electromagnetic vs. Electromechanical: Electromagnetic feeders are generally more precise and suitable for fine control, often costing more than electromechanical feeders.

Vibration Frequency and Amplitude: Customization in vibration parameters can affect the price.

Control Systems

Basic Controls: Simple on/off controls are less expensive.

Advanced Controls: Features such as programmable logic controllers (PLCs), remote monitoring, and automation increase costs.

Brand and Manufacturer

Reputation: Well-known brands or manufacturers with a reputation for quality may charge a premium.

Country of Origin: Feeders manufactured in regions with higher labor or production costs may be more expensive.

For more detailed information about vibrating feeder prices and factors affecting prices, please click to visit: https://www.zexciter.com/en/a/news/vibrating-feeder-price.html

What are the factors that affect the power of glass tempering furnace?

Glass tempering furnace is an industrial heating equipment specially used for tempering glass. In the glass processing industry, 300Kw is a common power specification. In addition, these equipment also have a specific processing size range, with a minimum processing size of 1010mm and a maximum processing size of 28002000*2500mm, which is suitable for glass processing needs of various sizes.

The power requirements for a glass tempering furnace can vary widely depending on the size, design, and production capacity of the furnace.

Glass tempering furnace power

Glass tempering furnace

Small-Scale Furnaces

Designed for smaller production capacities or specialized applications.

Power consumption: Generally ranges from 100 kW to 300 kW.

Medium-Scale Furnaces

Used in medium-sized production facilities.

Power consumption: Typically ranges from 300 kW to 1 MW (1000 kW).

Large-Scale Furnaces

Used in large industrial facilities for high-volume production.

Power consumption: Can range from 1 MW to several megawatts, depending on the specific requirements.

Factors affecting glass tempering furnace power

Glass tempering furnace

Furnace Design

Heating Elements: Type and quality of heating elements (electric resistance heaters, gas burners, etc.) impact the furnace’s power.

Insulation: Efficient insulation reduces heat loss and improves energy efficiency.

Airflow System: Properly designed airflow ensures uniform heating and cooling.

For more detailed information on the factors affecting the power of glass tempering furnaces, please visit: https://www.shencglass.com/en/a/news/factors-affecting-glass-tempering-furnace-power.html

What are the application fields of tool cabinets

Tool cabinets are versatile storage solutions used across various fields for organizing, protecting, and managing tools and equipment.

Tool cabinets application

Tool cabinets

Automotive Workshops and Garages

Storing hand tools, power tools, and automotive parts.

Keeping tools organized for easy access during vehicle maintenance and repair.

Manufacturing and Industrial Settings

Housing specialized tools and equipment used in production processes.

Ensuring safety and efficiency by keeping tools secure and accessible.

Construction Sites

Portable tool cabinets for transporting tools to different locations on-site.

Protecting tools from environmental damage and theft.

Home Workshops

Organizing DIY tools and supplies.

Providing a dedicated space for hobbies and home improvement projects.

Aerospace and Aviation

Storing precision instruments and specialized tools used in aircraft maintenance.

Ensuring compliance with stringent safety and organization standards.

Medical and Dental Clinics

Housing medical instruments and supplies.

Maintaining a sterile environment by organizing tools in hygienic conditions.

Educational Institutions

Organizing tools and equipment for technical and vocational training programs.

Providing students with easy access to necessary tools for hands-on learning.

For more detailed information about tool cabinet applications, please click here: https://www.cydfurniture.com/en/a/news/tool-cabinets-application.html

What are the differences between banana vibrating screen and linear vibrating screen?

Banana vibrating screens and linear vibrating screens are both types of vibratory screens used for separating and classifying materials, but they differ significantly in design, operation, and application.

The difference between banana vibrating screen and linear vibrating screen

High Frequency Dehydration Vibrating Screen

Banana Vibrating Screen

Design and Structure

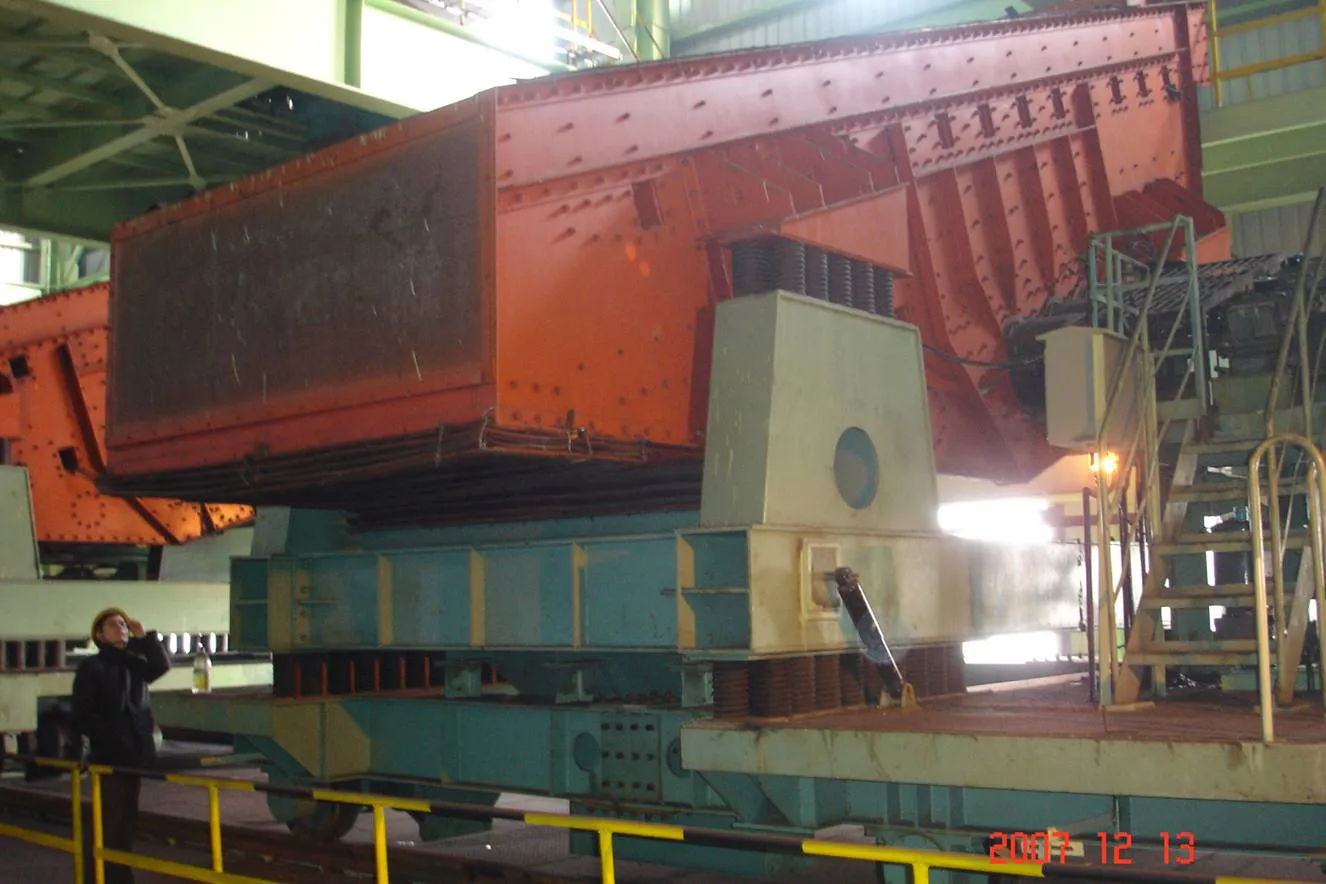
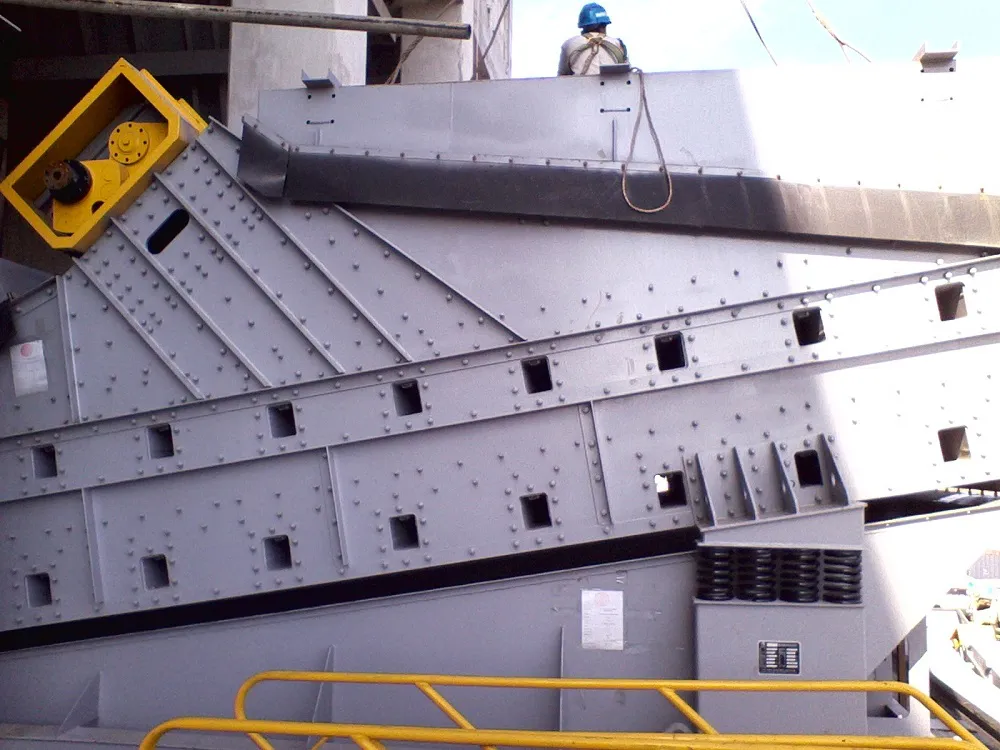
Shape: Named for their distinctive shape, banana screens have multiple decks with different angles of inclination, resembling the shape of a banana.

Deck Configuration: Typically, the screen decks start at a steeper angle and then flatten out toward the discharge end. This design allows for a higher feed rate and greater efficiency in handling large volumes of material.

Operation

Vibration Mechanism: Uses a combination of circular and linear vibrations to move materials along the screen surface.

Flow Characteristics: The changing angle of inclination helps maintain a higher material flow rate, allowing for better separation efficiency and higher throughput.

Screening Efficiency: Higher due to the variable deck angles, which optimize the screening process for different material sizes.

Applications

Large-Scale Operations: Ideal for high-capacity screening applications in industries such as mining, mineral processing, and coal preparation.

Diverse Material Handling: Suitable for screening a wide range of materials from fine particles to large rocks.

Linear Vibrating Screen

Linear vibrating screen

Design and Structure

Shape: Linear screens have a more straightforward rectangular or square design.

Deck Configuration: Generally consists of a single or multiple flat, horizontal decks.

Operation

Vibration Mechanism: Operates using linear vibrations generated by one or more vibrating motors. These vibrations move materials along a straight path on the screen surface.

Flow Characteristics: Materials move in a straight line from the feed end to the discharge end, which is ideal for applications requiring precise separation of materials.

Screening Efficiency: While effective, the efficiency may not match that of banana screens in handling large volumes of material quickly.

For more detailed information about the difference between banana vibrating screen and linear vibrating screen, please click to visit: https://www.hsd-industry.com/news/banana-vibrating-screen-and-linear-vibrating-screen-difference/

What is the tolerance of the screw bearing?

The tolerance of a screw bearing, particularly for applications such as ball screws or lead screws used in precision machinery, refers to the allowable deviation from specified dimensions and performance parameters. These tolerances ensure the bearing operates correctly within its intended application, maintaining the necessary accuracy, load capacity, and lifespan.

Key Tolerances for Screw Bearings

Dimensional Tolerances:

Diameter Tolerance: This includes the outer diameter of the screw, the diameter of the rolling elements (balls or rollers), and the inner diameter of the nut or bearing housing.

Lead Accuracy: This refers to the deviation in the axial movement per turn of the screw. High-precision screws have very tight lead accuracy tolerances.

Pitch Error: The difference between the actual and nominal pitch of the screw thread.

Form and Position Tolerances:

Cylindricity: The tolerance that ensures the screw remains cylindrical along its length.

Straightness: The allowable deviation of the screw from a perfectly straight line.

Perpendicularity: The angle between the axis of the screw and the mating surface.

Runout Tolerances:

Radial Runout: The maximum deviation of the screw’s surface as it rotates, indicating how much the screw wobbles.

Axial Runout: The deviation along the axis, affecting the linear motion accuracy.

Surface Finish:

The smoothness of the screw surface, which affects friction, wear, and the smoothness of the motion.

Tolerance Standards

Different standards organizations provide specific tolerance classes for ball screws and lead screws. Two commonly referenced standards are:

ISO Standards:

ISO 3408 specifies tolerance classes for ball screws, including grades such as 1, 3, 5, 7, and 10, with grade 1 being the most precise.

DIN Standards:

DIN 69051 outlines tolerance classes for ball screws, often mirrored by ISO standards.

Example Tolerance Values

For a high-precision ball screw, the tolerance values might look like this (based on ISO 3408 for a ball screw with a nominal diameter of 25mm):

Lead Accuracy (Grade 3): ±50 micrometers per 300mm of travel.

Diameter Tolerance: Typically within a few micrometers, such as ±5 micrometers for the screw shaft.

Radial Runout: Less than 10 micrometers for the length of the screw.

For more detailed information on screw bearing tolerances, please click here: https://www.lkwebearing.com/news-center/screw-bearing-tolerance.html

Movable art racks: ideal for protecting and displaying artworks

In art galleries, museums and private collections, the protection and display of artworks are crucial. As an innovative storage and display solution, movable art racks are widely welcomed for their flexibility and protection. This article will introduce the characteristics, advantages and applications of movable art racks in artwork management.

1. Definition and characteristics of movable art racks

Mobile art racks are a type of equipment specially designed for storing and displaying artworks. They are usually composed of a sturdy metal frame and grid structure, which can slide on tracks to facilitate the access and movement of artworks. The main features include:

Flexibility: The adjustable shelf and hook design enable it to adapt to artworks of various sizes and types.

Protection: The materials and design take into account factors such as shockproof, dustproof and moisture-proof to ensure the safety of artworks.

High space utilization: Through vertical storage and sliding design, movable art racks can store a large number of artworks in a limited space.

Movable art racks

2. Advantages of movable art racks

Space saving: Through vertical storage, movable art racks can store more artworks in a limited floor space, which is particularly suitable for places with limited storage space.

Easy to manage: The sliding design makes it more convenient to access and return artworks, simplifying the management and display process.

For more detailed information about the functions of movable art racks, please click here: https://www.etegreen.com/en/a/news/movable-art-racks-function.html

What are the common models of harmonic reducer bearings?

A harmonic reducer, also known as a harmonic drive or strain wave gear, is a type of gear mechanism that is used to achieve high gear reduction ratios in a compact and efficient manner. It consists of three main components: the wave generator, the flexspline, and the circular spline. Bearings play a crucial role in the operation of harmonic reducers bearing by supporting the wave generator and ensuring smooth motion of the flexspline.

Common Bearing Models Used in Harmonic Reducers

harmonic reducers bearing

Crossed Roller Bearings

Features: These bearings can handle high radial, axial, and moment loads due to the arrangement of cylindrical rollers alternately crossed at right angles to each other between the inner and outer rings.

Benefits: They offer high rigidity and precision, making them suitable for the compact design of harmonic reducers.

Thin Section Bearings

Features: These bearings have a thin cross-section, allowing for space-saving designs while still providing adequate load-carrying capacity.

Benefits: They are ideal for applications where space and weight are critical, such as in robotics and aerospace.

Harmonic Drive Specific Bearings

Features: Some manufacturers produce bearings specifically designed for harmonic drives, optimizing performance for the unique loading conditions and motions involved.

Benefits: These bearings ensure maximum efficiency and lifespan for the harmonic drive.

Selecting the Right Bearing Model

When selecting a bearing model for a harmonic reducer, consider the following factors:

Load Capacity

Ensure the bearing can handle the expected radial, axial, and moment loads. Harmonic drives often experience complex loading conditions.

Rigidity

High rigidity is important to maintain precision and minimize deflection under load, which is critical for the accurate positioning often required in applications like robotics and CNC machinery.

For more detailed information about harmonic reducer models, please click here: https://www.boyingbearing.com/en/a/news/harmonic-reducer-bearings-models.html

How to Install a Bucket Elevator Belt

Installing a bucket elevator belt is a detailed process that involves preparation, precise alignment, and securing components to ensure proper functioning. Here’s a step-by-step guide to help you install a bucket elevator belt.

How to Install a Bucket Elevator Belt

bucket elevator

Tools and Materials Needed

Bucket elevator belt

Buckets

Bolts, nuts, and washers

Wrenches and other hand tools

Measuring tape

Chalk or marker

Safety gear (gloves, safety glasses, etc.)

Lifting equipment (hoist or crane)

Belt tensioning tools

Step-by-Step Installation Guide

bucket elevator

1. Safety Precautions

Shut Down the System: Ensure the bucket elevator system is completely shut down and locked out.

Wear Safety Gear: Use appropriate personal protective equipment (PPE), such as gloves, safety glasses, and helmets.

2. Prepare the Elevator

Clean the Elevator: Ensure the elevator casing and surrounding area are clean and free of debris.

Inspect Components: Check all components of the elevator (e.g., pulleys, shafts, and bearings) for wear and tear. Replace any damaged parts.

3. Remove the Old Belt (if applicable)

Release Tension: Loosen and remove the tension on the old belt using the tensioning system.

Detach Buckets: Remove the buckets from the old belt.

Remove Belt: Carefully pull the old belt out of the elevator casing.

4. Install the New Belt

Position the Belt: Lay out the new belt on a flat surface near the elevator. Ensure it is oriented correctly, with the proper side facing up.

More detailed information about bucket elevator belt installation can be found at: https://www.zymining.com/en/a/news/bucket-elevator-belt-installation.html