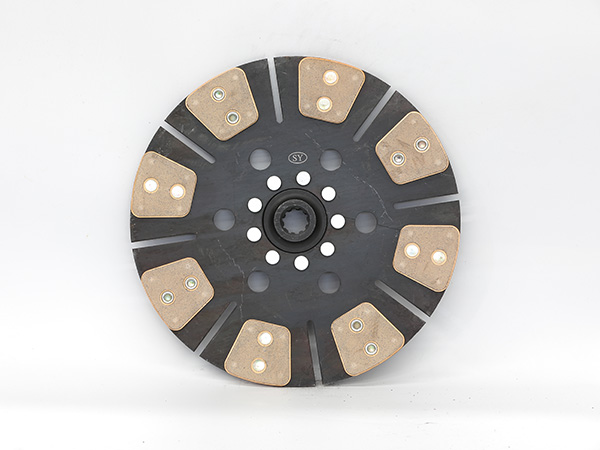
What are the procedures for replacing tractor clutch disc?
Replacing the clutch disc on a tractor is a procedure that involves disassembling a portion of the tractor’s transmission system. Here’s a general guide on how to replace a tractor clutch disc. Keep in mind that the specific steps may vary depending on the make and model of your tractor, so it’s essential to consult the tractor’s service manual for detailed instructions tailored to your equipment.
Note: This is a general guide and may not cover all variations. Always refer to the specific tractor model’s service manual for accurate instructions.
Required Tools and Materials:
- Wrenches and sockets
- Jack and jack stands
- Clutch alignment tool
- Torque wrench
- Screwdrivers
- Pry bar
- Safety equipment (gloves, safety glasses)
Tractor clutch disc replacement steps

Safety First
- Ensure that the tractor is on a flat and stable surface.
- Disconnect the battery to prevent any accidental starting.
Raise the Tractor
- Use a jack to lift the tractor and support it securely with jack stands.
Access the Clutch
- Remove any components that obstruct access to the clutch, such as the inspection plate.
Disconnect Components
- Disconnect the linkage between the clutch pedal and the clutch release mechanism. This may involve removing pins, clips, or bolts.
…
More detailed information on the procedures for replacing a tractor clutch disc can be found here:https://www.syclutch.com/news/tractor-clutch-disc-replacement.html


